Recipes
Skip Resolution inspiration carousel
Resolution inspiration

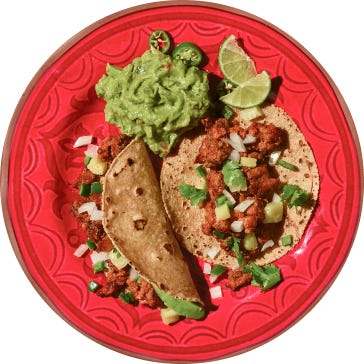
Roja Chicken Taco
20 min6 ingredientsUnsaved Roja Chicken Taco
Meatless Beefy Tostadas with Avocado
25 min9 ingredientsUnsaved Meatless Beefy Tostadas with Avocado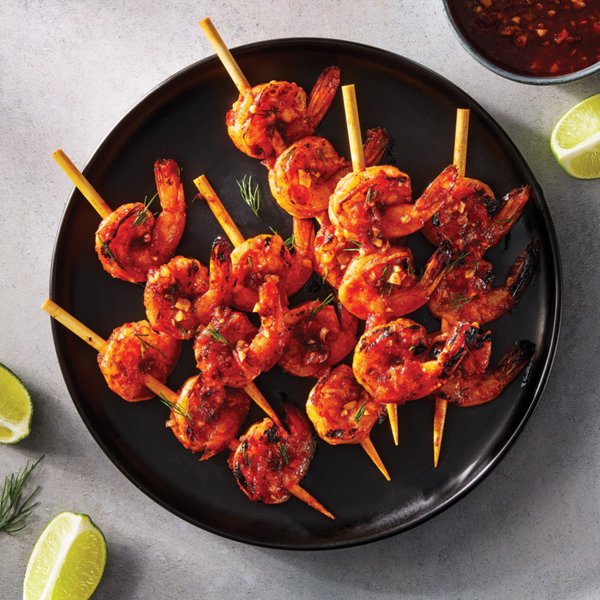
Harissa Honey Garlic Shrimp
50 min8 ingredientsUnsaved Harissa Honey Garlic Shrimp
Basil Melon Spritzer
1 hr 30 min6 ingredientsUnsaved Basil Melon Spritzer
Chicken with Sun-dried Tomatoes
50 min9 ingredientsUnsaved Chicken with Sun-dried Tomatoes
Grilled Chicken made with Non-dairy Yogurt
8 hr 45 min7 ingredientsUnsaved Grilled Chicken made with Non-dairy Yogurt
Skip Low carb lifestyle carouselView all
Low carb lifestyle

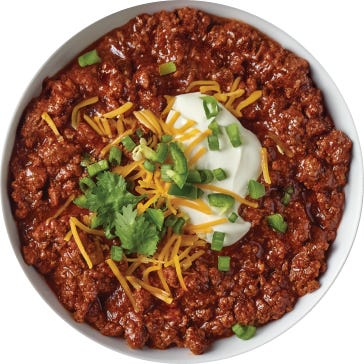
Texas Turkey Chili
20 min10 ingredientsUnsaved Texas Turkey Chili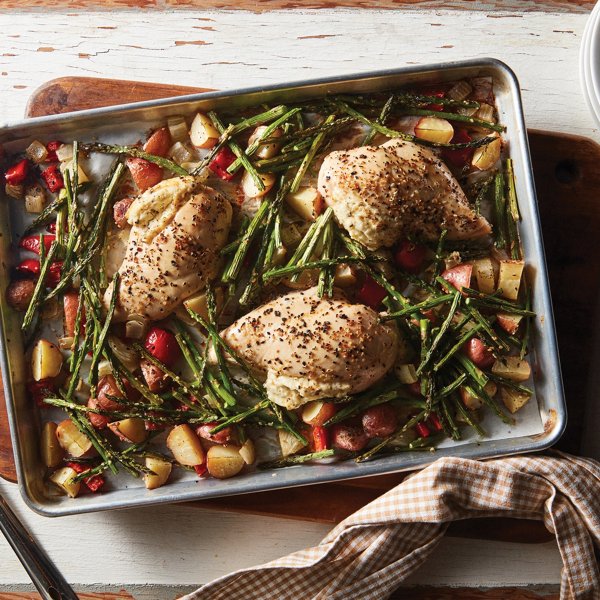
Bagel Not Included Sheet Pan Chicken Dinner
45 min9 ingredientsUnsaved Bagel Not Included Sheet Pan Chicken Dinner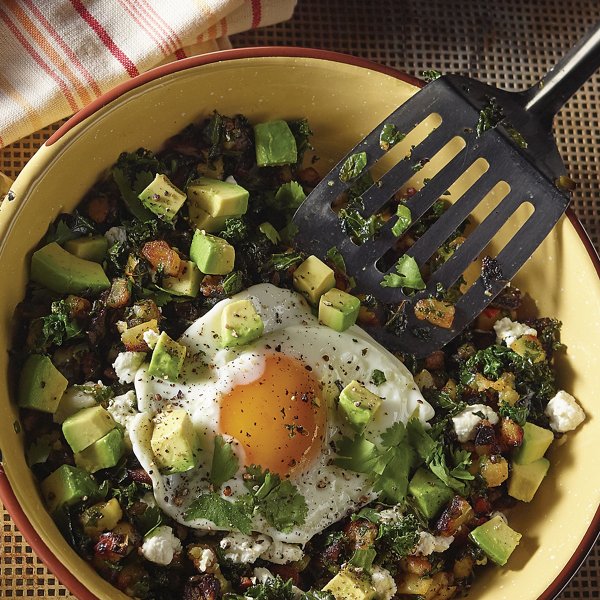
Avocado Breakfast Skillet
50 min8 ingredientsUnsaved Avocado Breakfast Skillet
Air Fryer Chorizo Egg Cups
15 min3 ingredientsUnsaved Air Fryer Chorizo Egg Cups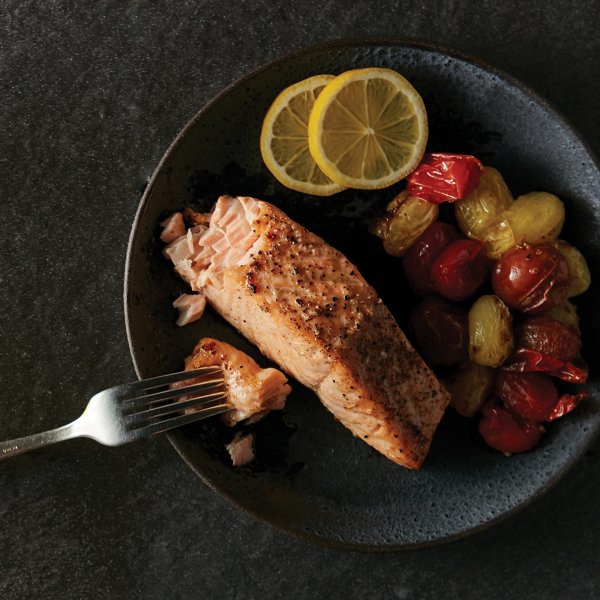
Air Fryer Crispy Salmon with Roasted Tomatoes
20 min6 ingredientsUnsaved Air Fryer Crispy Salmon with Roasted Tomatoes
Almond-Crusted Chicken
30 min9 ingredientsUnsaved Almond-Crusted Chicken
Ham, Cheese & Arugula Frittatini
55 min9 ingredientsUnsaved Ham, Cheese & Arugula Frittatini
Berry Medley Parfait
5 min3 ingredientsUnsaved Berry Medley Parfait
Shortbread Fans
35 min6 ingredientsUnsaved Shortbread Fans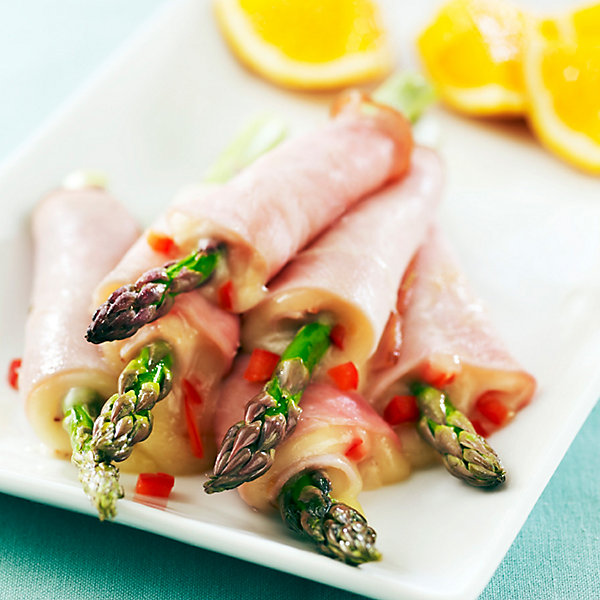
Breakfast Ham & Cheese Roll-Ups
6 min5 ingredientsUnsaved Breakfast Ham & Cheese Roll-Ups
Skip Vegetarian carouselView all
Vegetarian
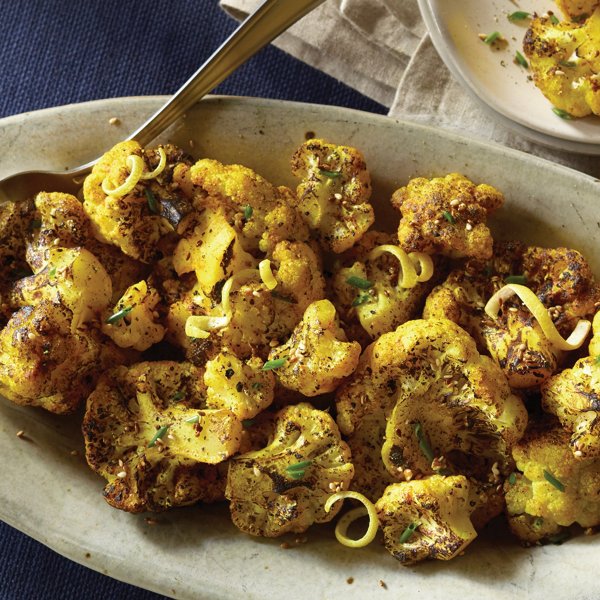
Charred Cauliflower with Smoked Turmeric
25 min6 ingredientsUnsaved Charred Cauliflower with Smoked Turmeric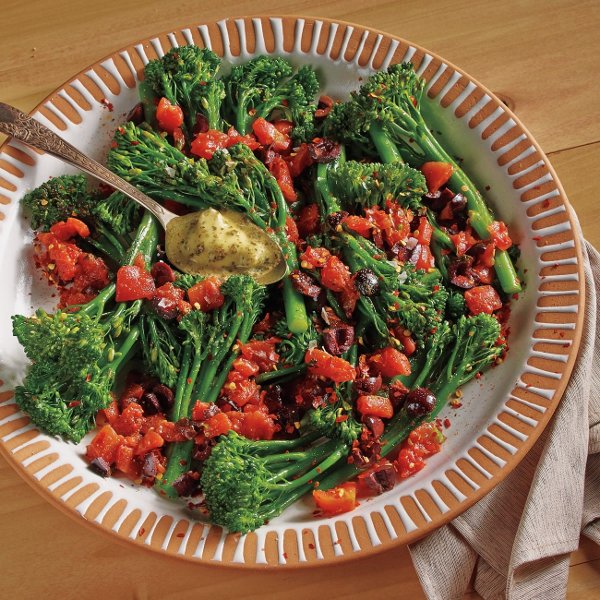
Broccolini with Tomatoes and Kalamata Olives
25 min8 ingredientsUnsaved Broccolini with Tomatoes and Kalamata Olives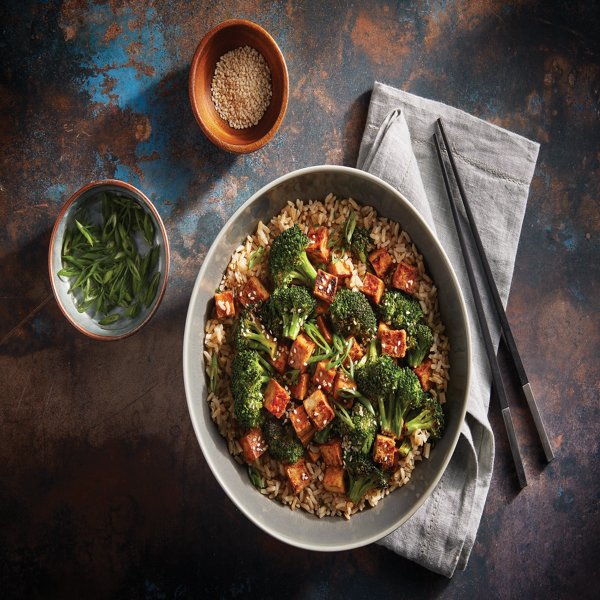
Broccoli Tofu Stir-Fry
35 min4 ingredientsUnsaved Broccoli Tofu Stir-Fry
Vegan Taco Wraps
1 hr14 ingredientsUnsaved Vegan Taco Wraps
Southwest Falafel Taco with Cilantro Yogurt
55 min16 ingredientsUnsaved Southwest Falafel Taco with Cilantro Yogurt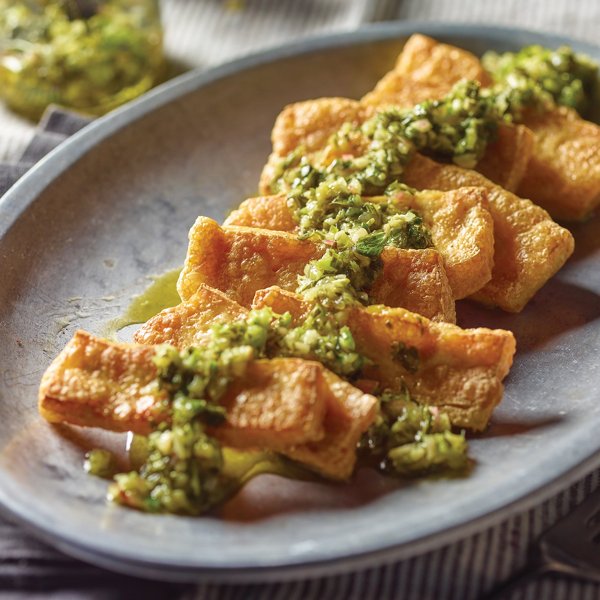
Roasted Tofu with Thai Style Chimichurri
1 hr11 ingredientsUnsaved Roasted Tofu with Thai Style Chimichurri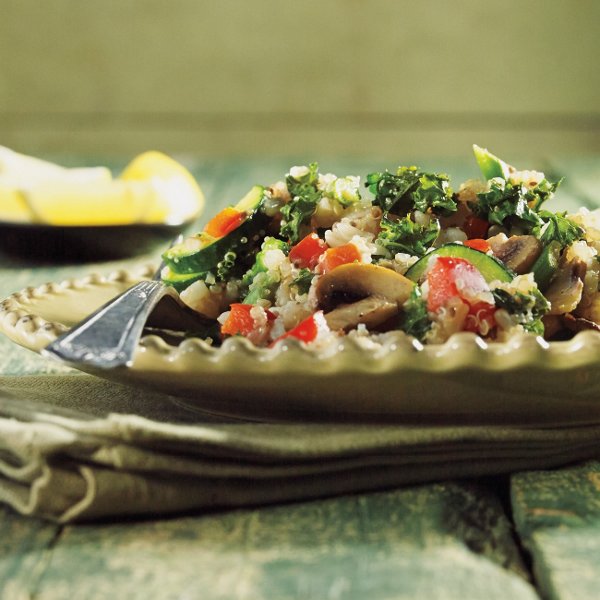
Incas Grains with Roasted Vegetables
1 hr11 ingredientsUnsaved Incas Grains with Roasted Vegetables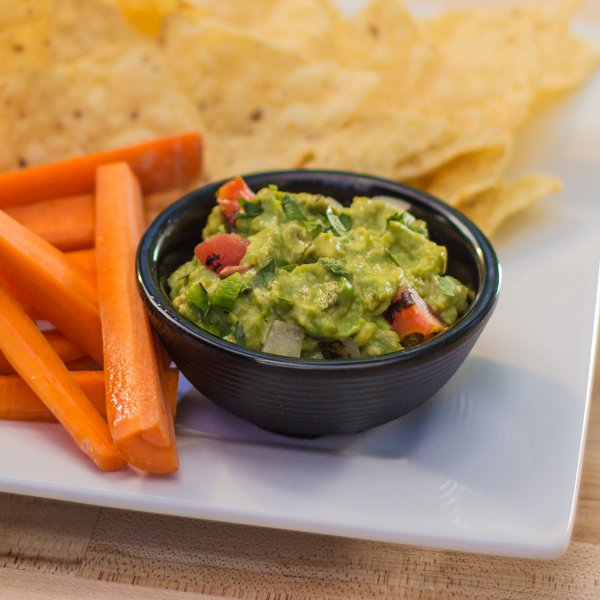
Fire Roasted Guacamole
25 min9 ingredientsUnsaved Fire Roasted Guacamole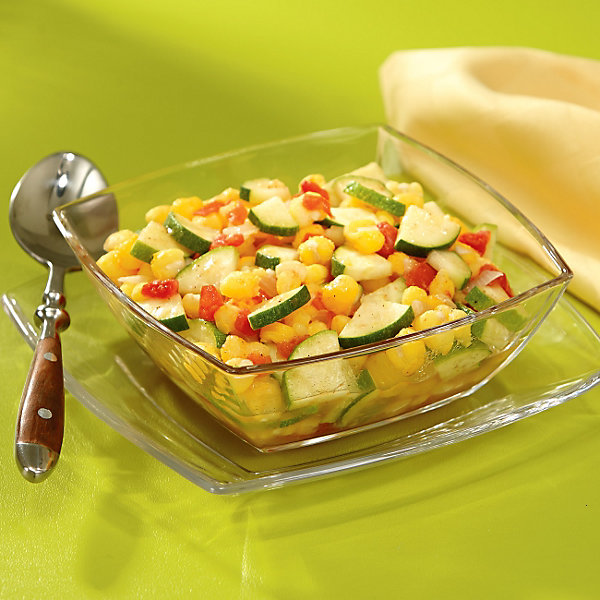
Zucchini And Hominy
30 min6 ingredientsUnsaved Zucchini And Hominy
Moroccan Style Carrot Salad with Seeds
1 hr12 ingredientsUnsaved Moroccan Style Carrot Salad with Seeds
Skip Vegan carouselView all
Vegan

Charred Cauliflower with Smoked Turmeric
25 min6 ingredientsUnsaved Charred Cauliflower with Smoked Turmeric
Vegan Taco Wraps
1 hr14 ingredientsUnsaved Vegan Taco Wraps
Incas Grains with Roasted Vegetables
1 hr11 ingredientsUnsaved Incas Grains with Roasted Vegetables
Fire Roasted Guacamole
25 min9 ingredientsUnsaved Fire Roasted Guacamole
Zucchini And Hominy
30 min6 ingredientsUnsaved Zucchini And Hominy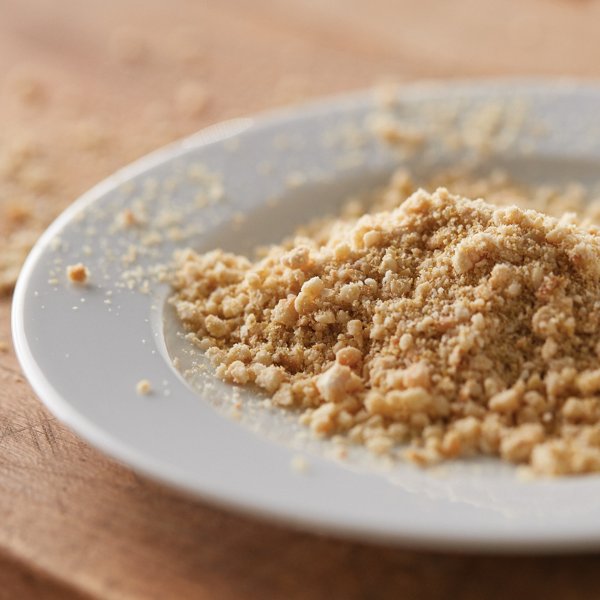
Cashew "Parmesan"
6 min6 ingredientsUnsaved Cashew "Parmesan"
Butternut Spiral Salad with Creamy Italian Dressing
25 min9 ingredientsUnsaved Butternut Spiral Salad with Creamy Italian Dressing
Tomato and Shallot Conserva
4 hr 15 min6 ingredientsUnsaved Tomato and Shallot Conserva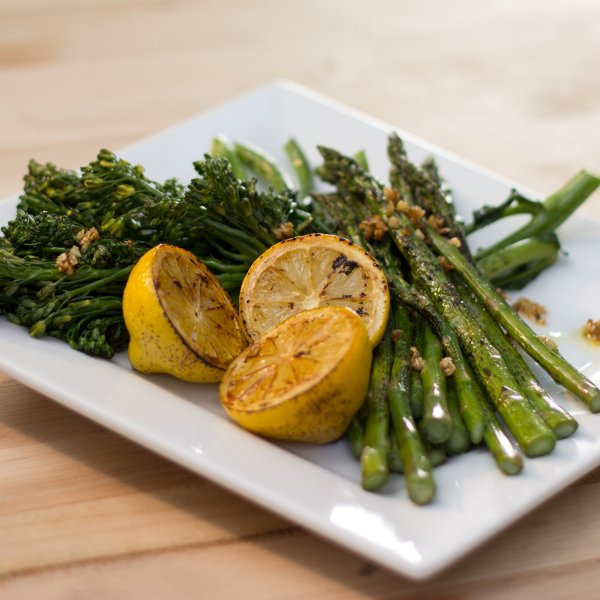
Grilled Asparagus and Broccolini
15 min7 ingredientsUnsaved Grilled Asparagus and Broccolini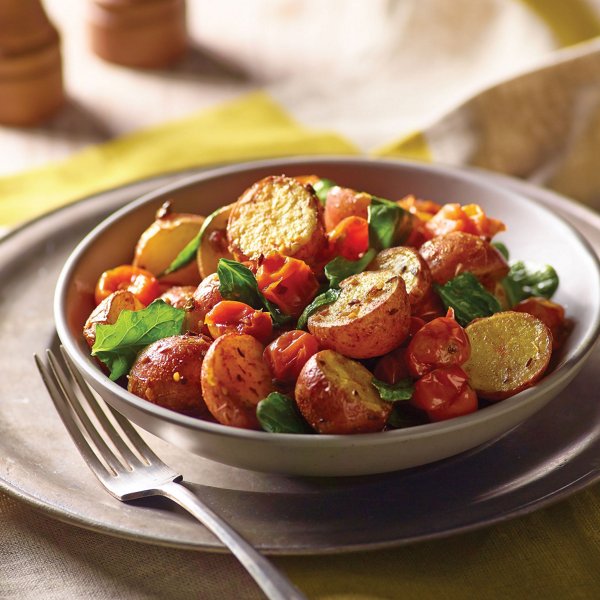
Curry Dusted Roasted Potato and Spinach Salad
55 min11 ingredientsUnsaved Curry Dusted Roasted Potato and Spinach Salad
Skip Taco carouselView all
Taco
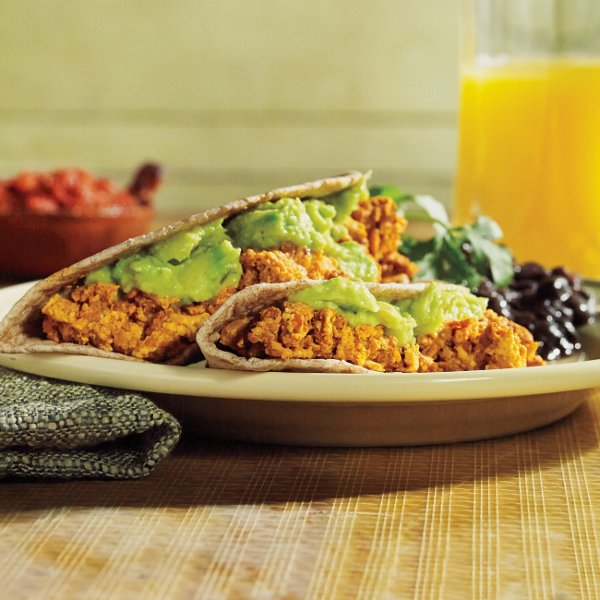
Soyrizo and Egg Breakfast Tacos
35 min6 ingredientsUnsaved Soyrizo and Egg Breakfast Tacos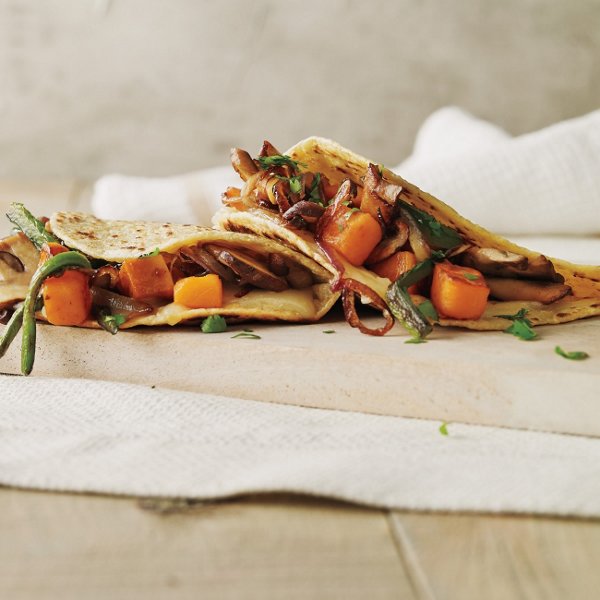
Mushroom, Sweet Potato and Poblano Tacos
25 min10 ingredientsUnsaved Mushroom, Sweet Potato and Poblano Tacos
Tangy Soft Chicken Tacos
30 min10 ingredientsUnsaved Tangy Soft Chicken Tacos
Fiesta Tacos
15 min6 ingredientsUnsaved Fiesta Tacos
Roasted Vegetable Tacos
30 min13 ingredientsUnsaved Roasted Vegetable Tacos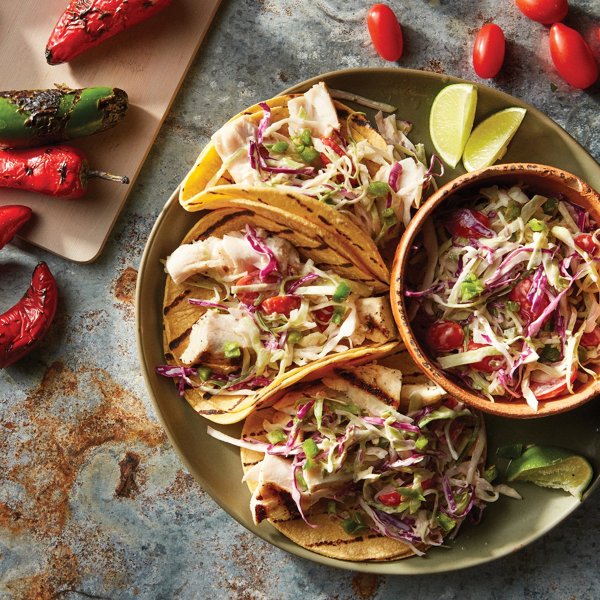
Fish Tacos with Lemon Garlic Slaw
30 min10 ingredientsUnsaved Fish Tacos with Lemon Garlic Slaw
Ancho Chile Shrimp Tacos
10 min7 ingredientsUnsaved Ancho Chile Shrimp Tacos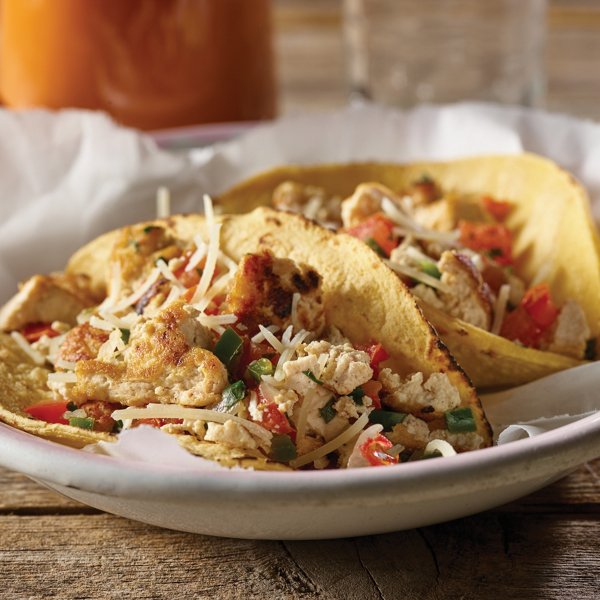
Scrambled Tofu Tacos
20 min5 ingredientsUnsaved Scrambled Tofu Tacos
Keto Mahi Fish Tacos
45 min12 ingredientsUnsaved Keto Mahi Fish Tacos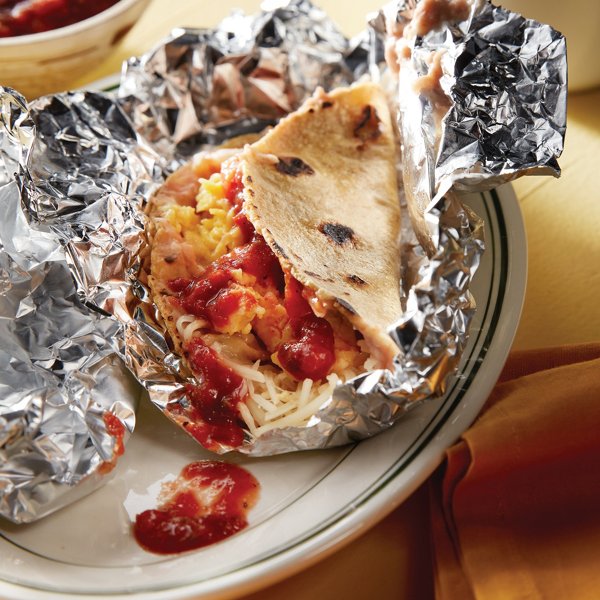
Spiced Bean and Cheese Breakfast Tacos
30 min5 ingredientsUnsaved Spiced Bean and Cheese Breakfast Tacos
Skip Pizza carouselView all
Pizza

Cauliflower Pizza
1 hr 5 min6 ingredientsUnsaved Cauliflower Pizza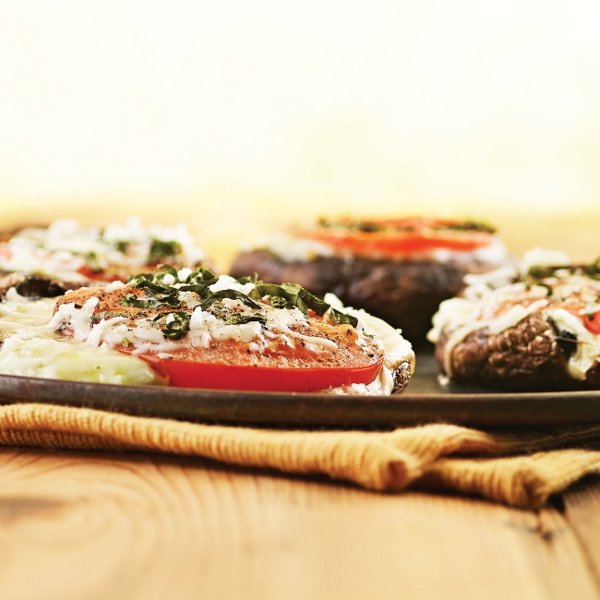
Portobello Mushroom Pizzas
25 min5 ingredientsUnsaved Portobello Mushroom Pizzas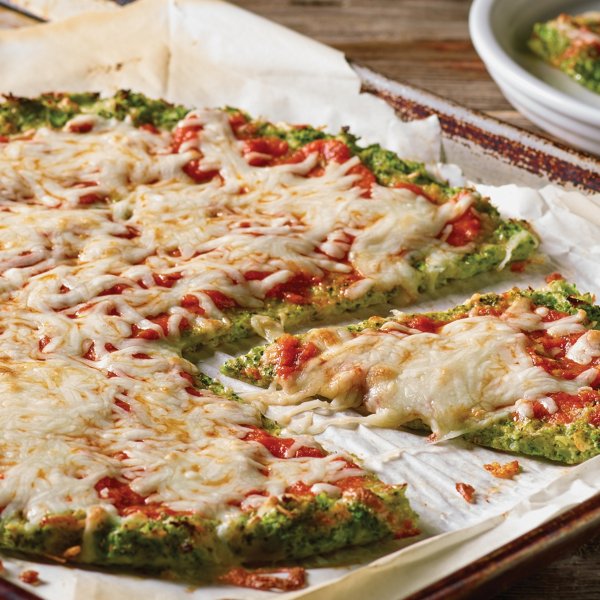
Broccoli Pizza
40 min6 ingredientsUnsaved Broccoli Pizza Quick & easy
Quick & easy: Build Your Own Pizza
18 min5 ingredientsUnsaved Build Your Own Pizza
Classic Neapolitan Pizza Dough
2 hr 15 min5 ingredientsUnsaved Classic Neapolitan Pizza Dough
Thin Crust Spinach & Feta Pizza
25 min8 ingredientsUnsaved Thin Crust Spinach & Feta Pizza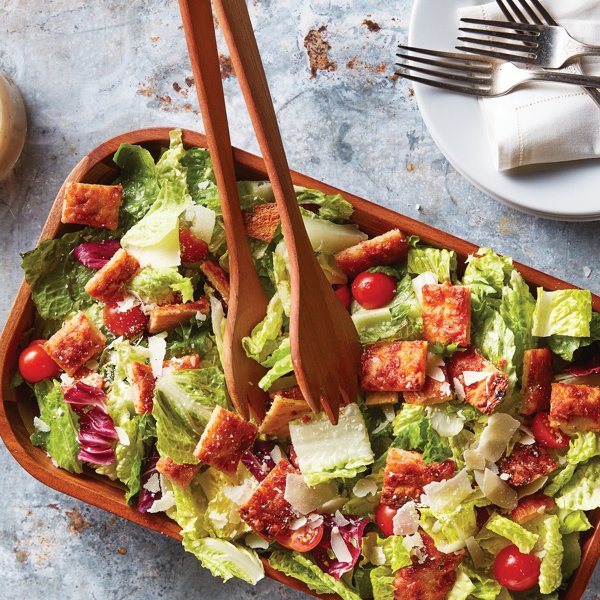
Cheese Pizza Panzanella Salad
45 min4 ingredientsUnsaved Cheese Pizza Panzanella Salad
Easy Chorizo Pizza
25 min6 ingredientsUnsaved Easy Chorizo Pizza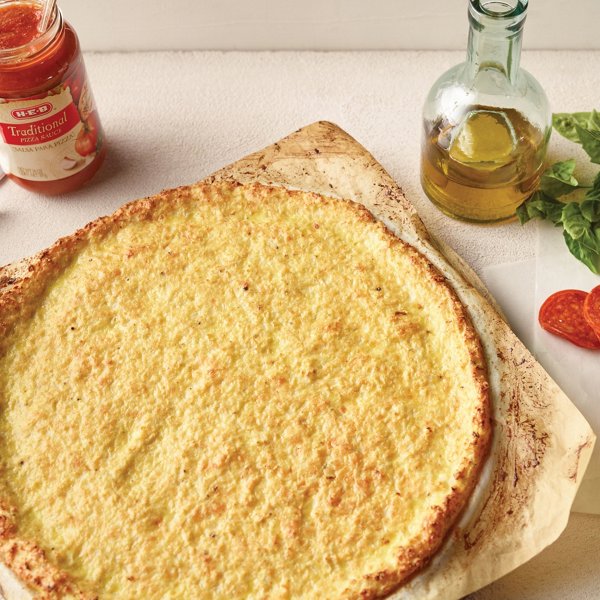
Cauliflower Pizza Crusts
1 hr 5 min4 ingredientsUnsaved Cauliflower Pizza Crusts
Arugula and Parmesan Pizza
25 min9 ingredientsUnsaved Arugula and Parmesan Pizza
Skip Salad carouselView all
Salad

Apple Walnut Salad
15 min12 ingredientsUnsaved Apple Walnut Salad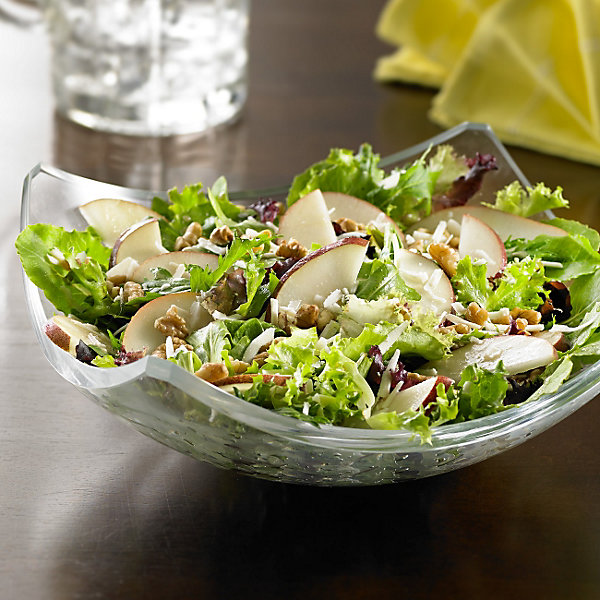
Garden Greens with Pears & Walnuts
15 min9 ingredientsUnsaved Garden Greens with Pears & Walnuts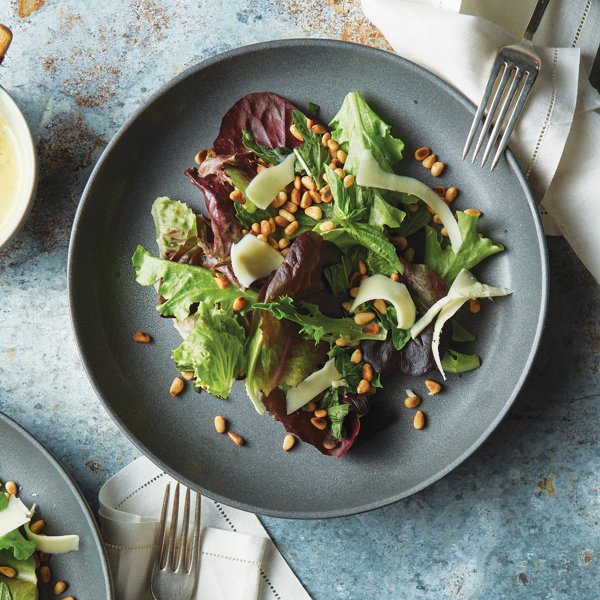
Basil & Toasted Pine Nut Salad
23 min4 ingredientsUnsaved Basil & Toasted Pine Nut Salad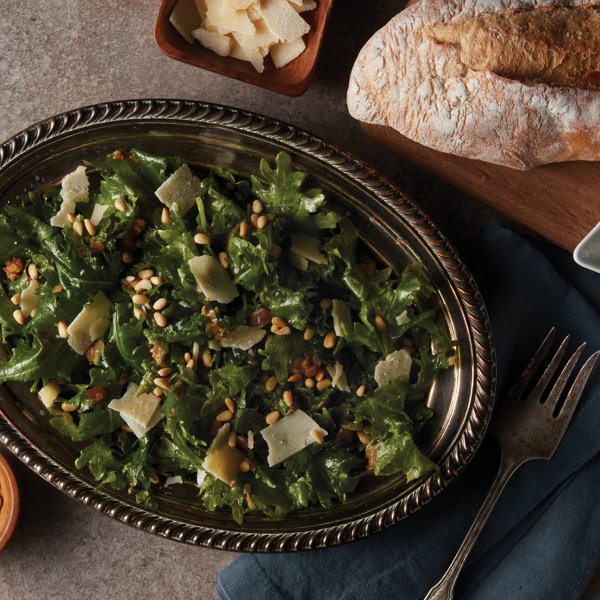
Baby Kale Salad with Pinon, Parm and Warm Lemon Vinaigrette
40 min9 ingredientsUnsaved Baby Kale Salad with Pinon, Parm and Warm Lemon Vinaigrette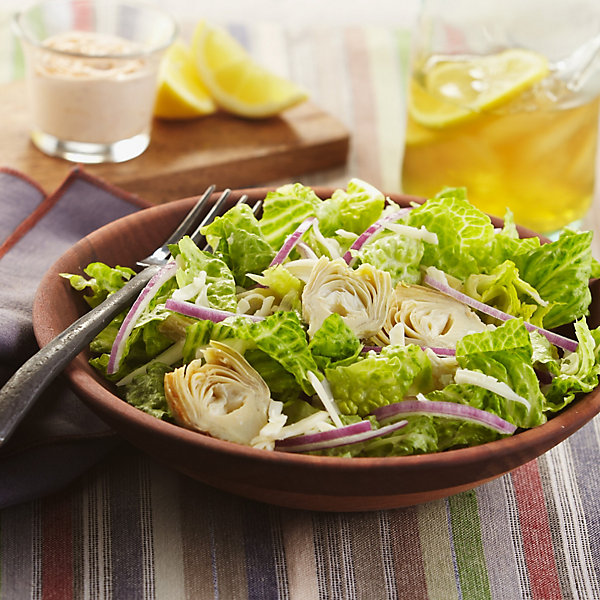
Chipotle Dressing With Salad
15 min6 ingredientsUnsaved Chipotle Dressing With Salad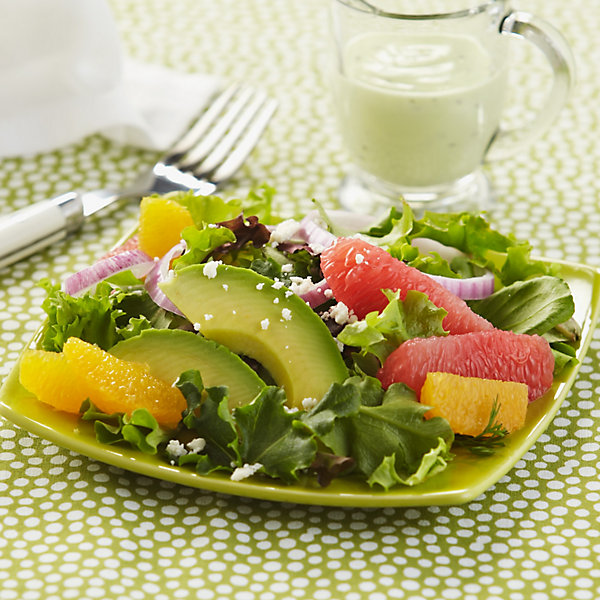
Citrus Avocado Salad
15 min7 ingredientsUnsaved Citrus Avocado Salad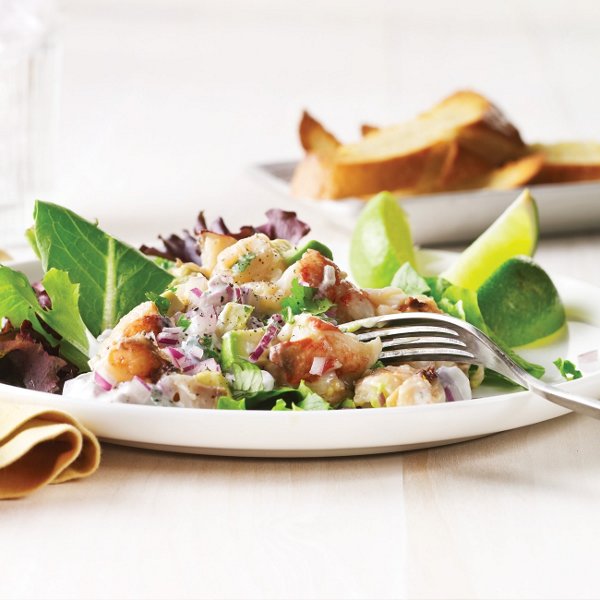
Cilantro Lime Lobster Salad
40 min7 ingredientsUnsaved Cilantro Lime Lobster Salad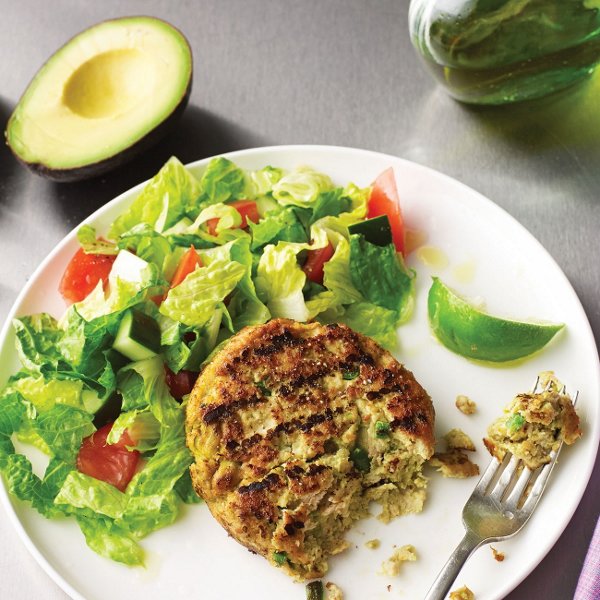
Avocado Turkey Burgers
50 min12 ingredientsUnsaved Avocado Turkey Burgers
Fish Tacos with Lemon Garlic Slaw
30 min10 ingredientsUnsaved Fish Tacos with Lemon Garlic Slaw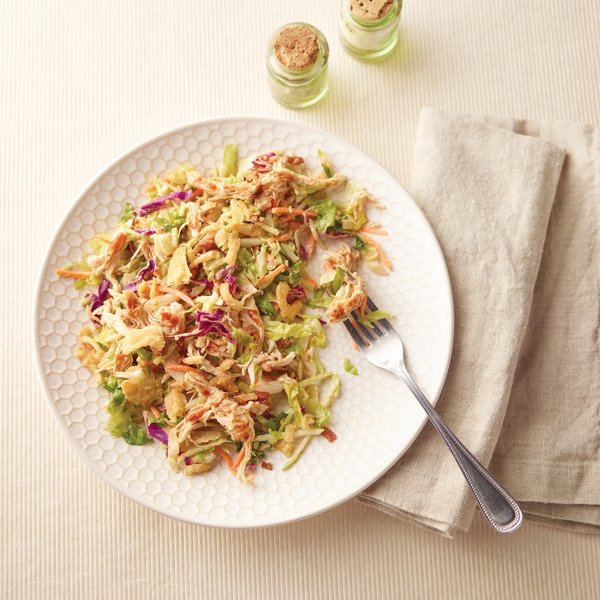
Backyard Chopped Chicken Salad
10 min2 ingredientsUnsaved Backyard Chopped Chicken Salad
Skip Pasta carouselView all
Pasta

Pasta Pomodoro
45 min9 ingredientsUnsaved Pasta Pomodoro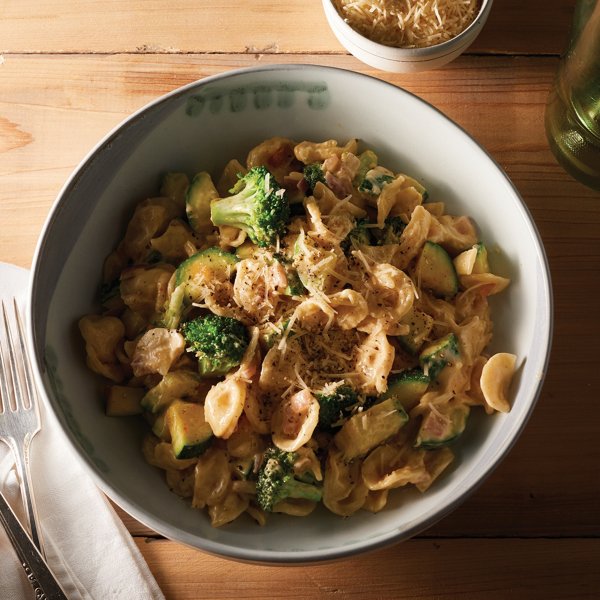
Creamy Pasta Primavera
30 min9 ingredientsUnsaved Creamy Pasta Primavera
Warm Parsley and Parmesan Pasta
45 min7 ingredientsUnsaved Warm Parsley and Parmesan Pasta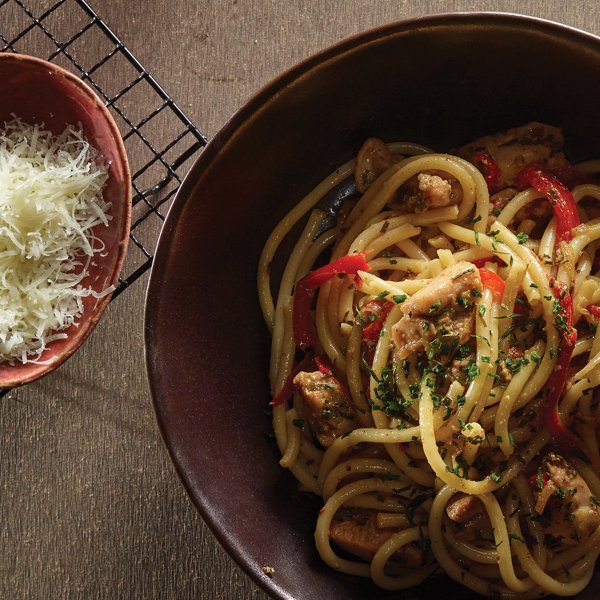
Chicken Fajita Pasta
50 min9 ingredientsUnsaved Chicken Fajita Pasta
Sheet Pan Chicken Parmesan
45 min5 ingredientsUnsaved Sheet Pan Chicken Parmesan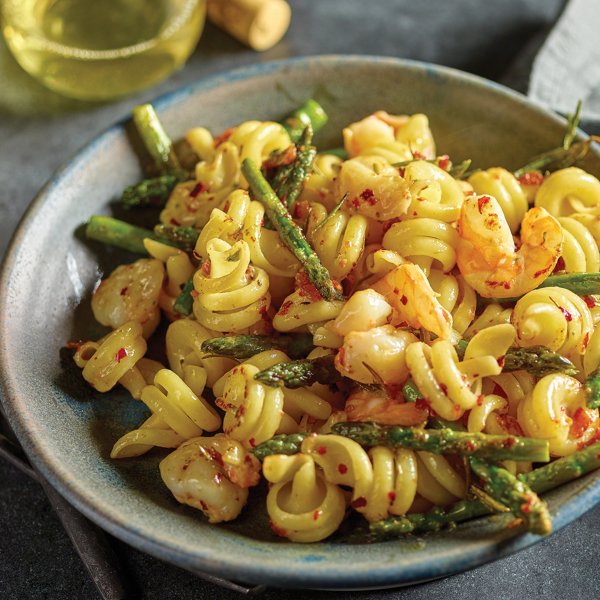
Garlic Rosemary Shrimp Alfredo
30 min8 ingredientsUnsaved Garlic Rosemary Shrimp Alfredo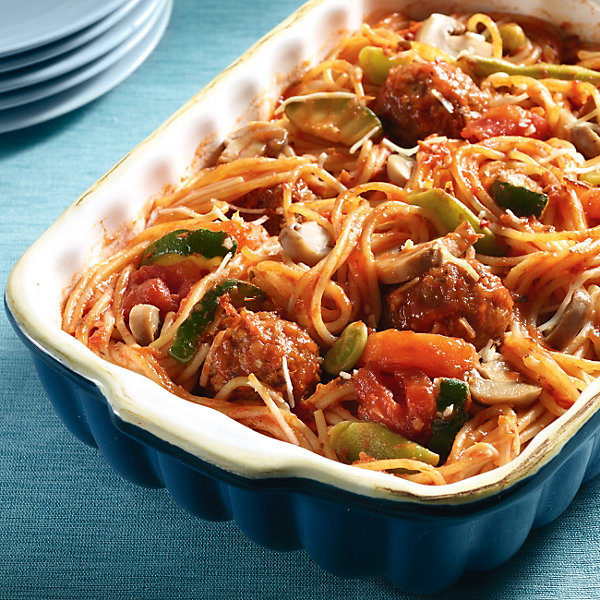
Spaghetti Casserole
40 min6 ingredientsUnsaved Spaghetti Casserole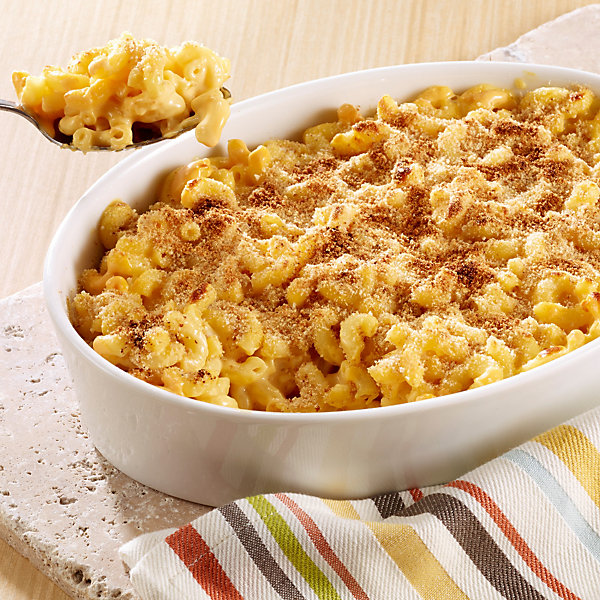
Macaroni And Cheese
30 min5 ingredientsUnsaved Macaroni And Cheese
Shrimp Scampi Over Linguini
30 min10 ingredientsUnsaved Shrimp Scampi Over Linguini
Spring Time Pasta
30 min7 ingredientsUnsaved Spring Time Pasta


